Work Desk Routing Project
April 8, 2018
processing.org woodworking
This is just a photo series of a work desk I have been building. There’s a location in Philadelphia called NextFab that has a bunch of useful tooling, and I’m enjoying this project a lot: NextFab.
The table measures about 2.5’ wide by 7’ long, and it’s a standing height desk:
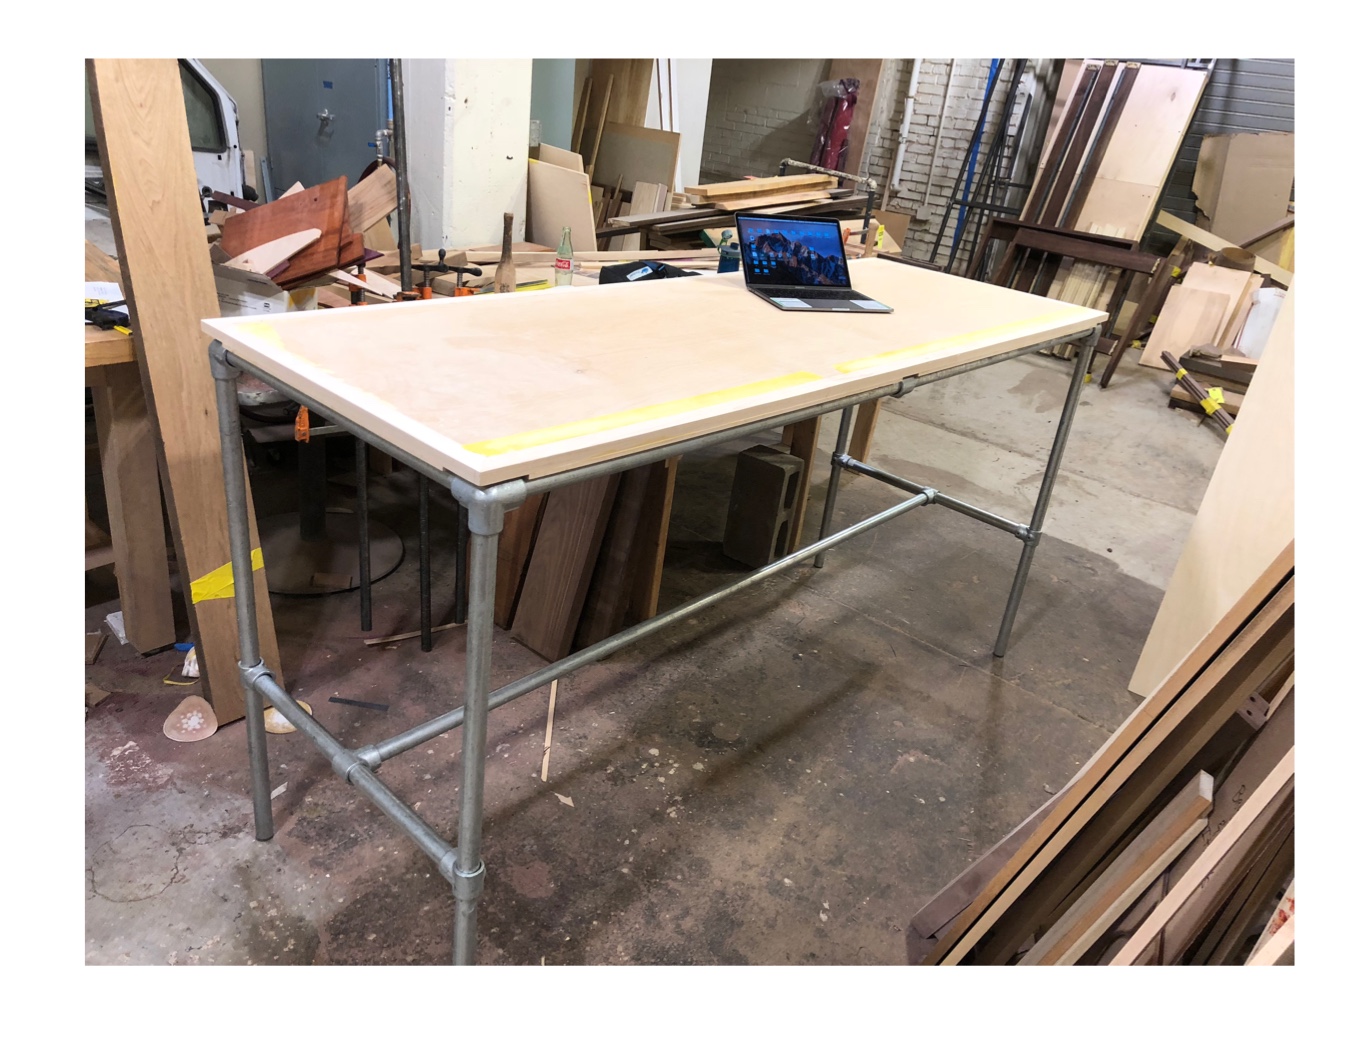
Assembled, pre-routing
The plywood was not the highest level of furniture-grade, so it was cheaper, but it also meant that it had some ugly imperfections on the surface. Here’s the two that stand out:
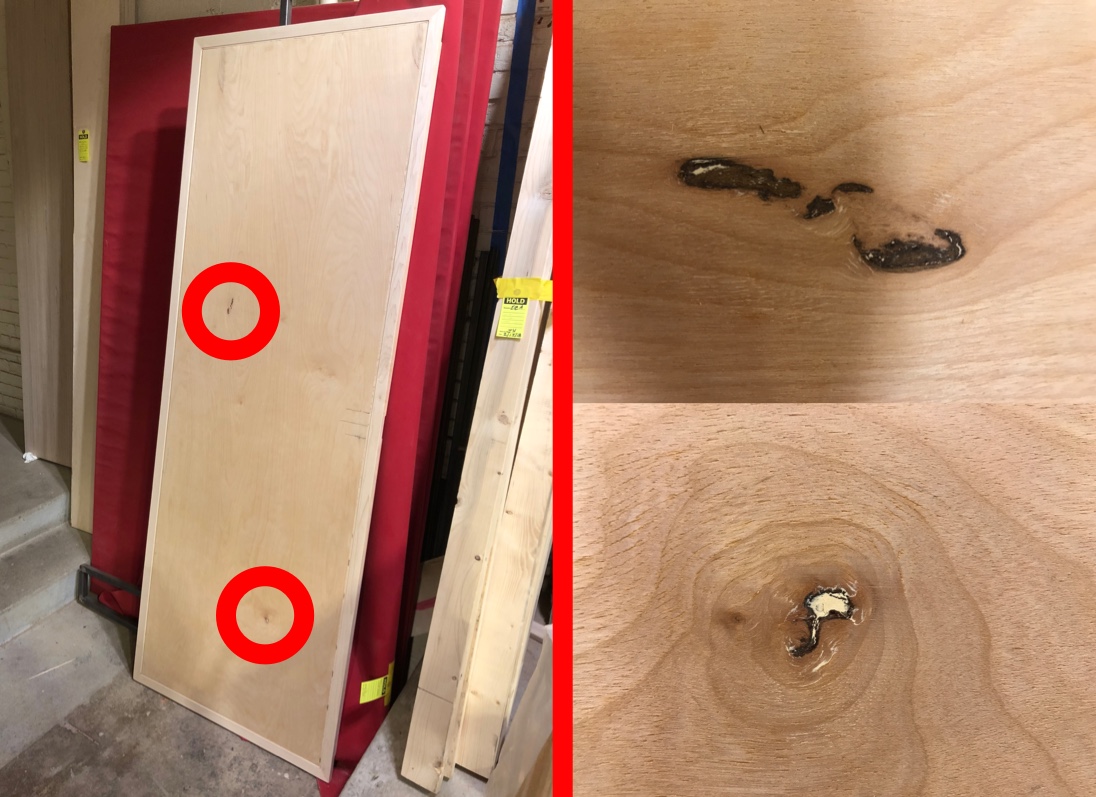
Knots
I didn’t like the idea of living with those, so I came up with a plan to disguise them. The plan involved routing out a fancy pattern on the surface of the table that looked intentional. The pattern would also cover those two imperfections.
After some thinking, I decided to route out a dampened sine wave pattern. The next step was to measure where the imperfections were located on the table, and then fit a sine wave curve perfectly to it. For the curve-fitting, I wrote up a Processing.org sketch and toggled different parameters until I got a wave that went over both problem areas.
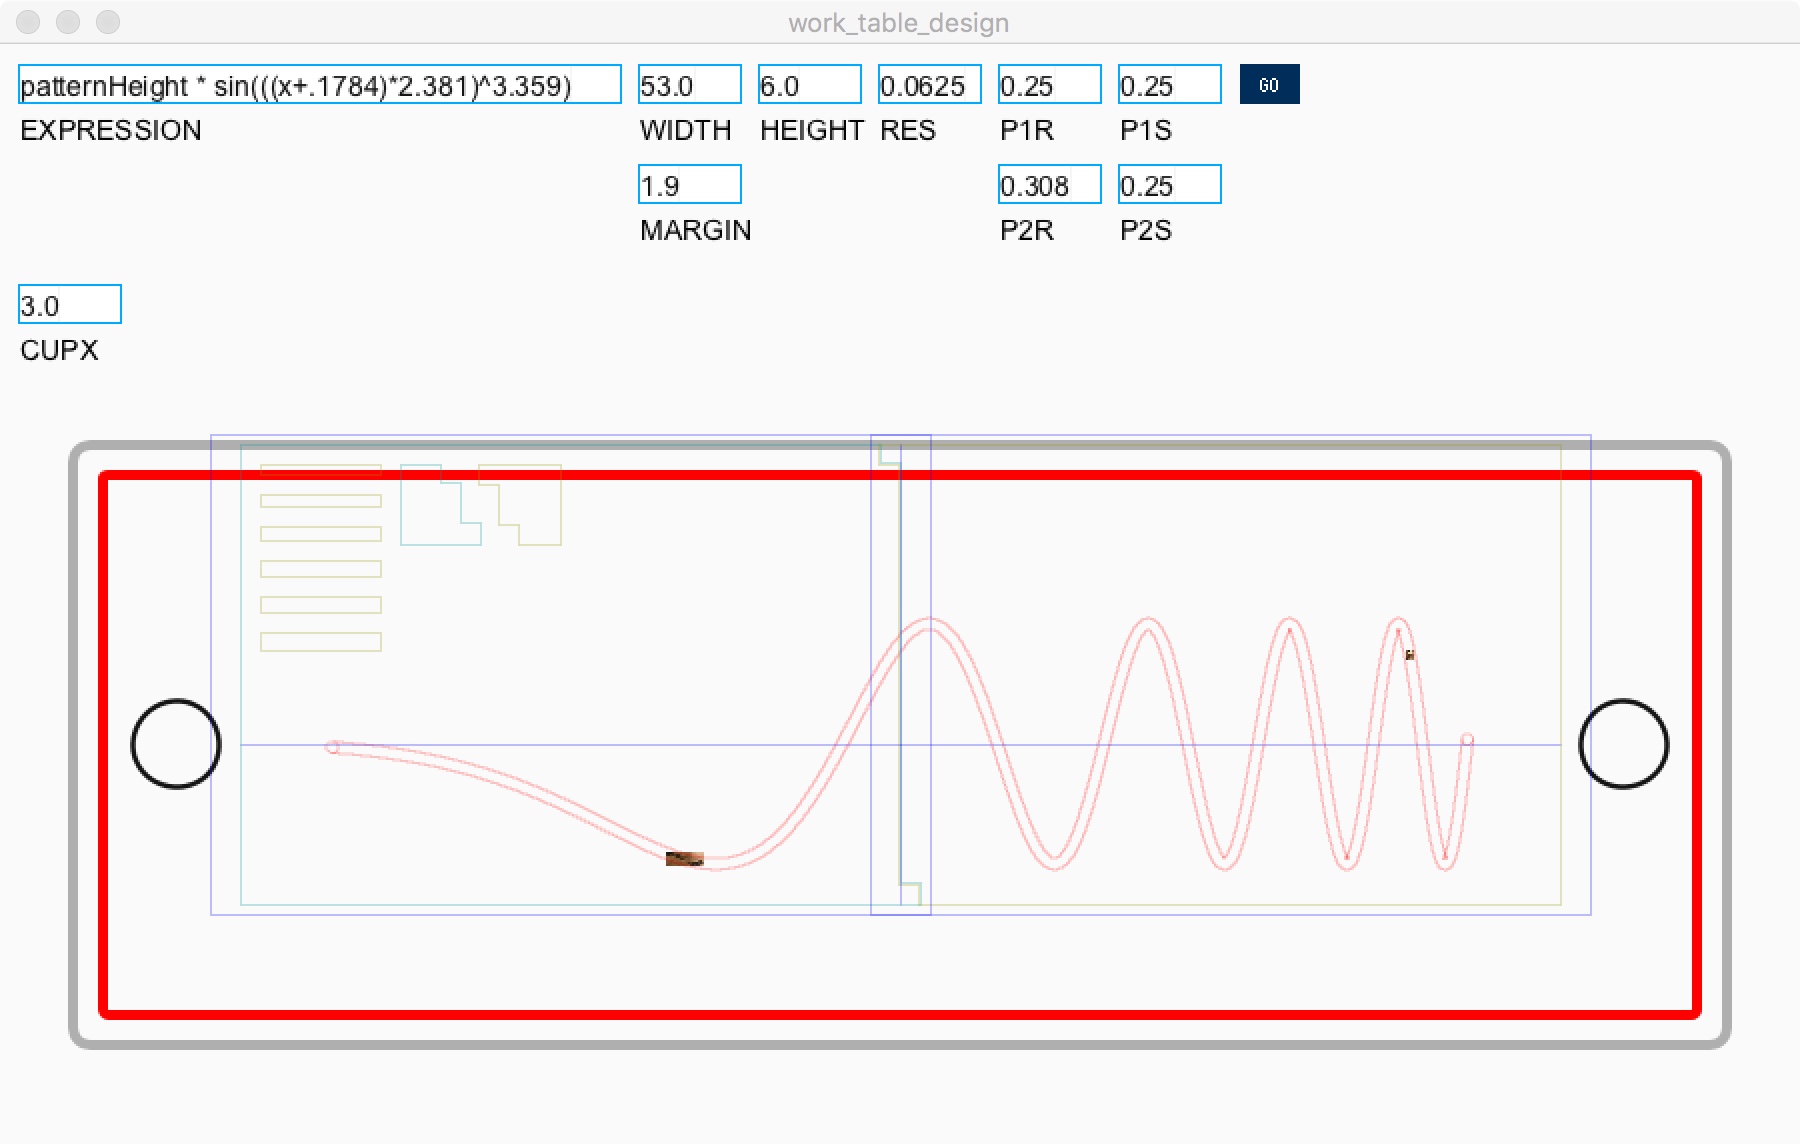
Processing.org pattern
The easiest way to cut this out of the table would be to use a CNC router. NextFab has a nice big CNC router, but I haven’t taken the classes for it yet, so I can’t use it for the time being.
However, I do have access to the laser engraving table:
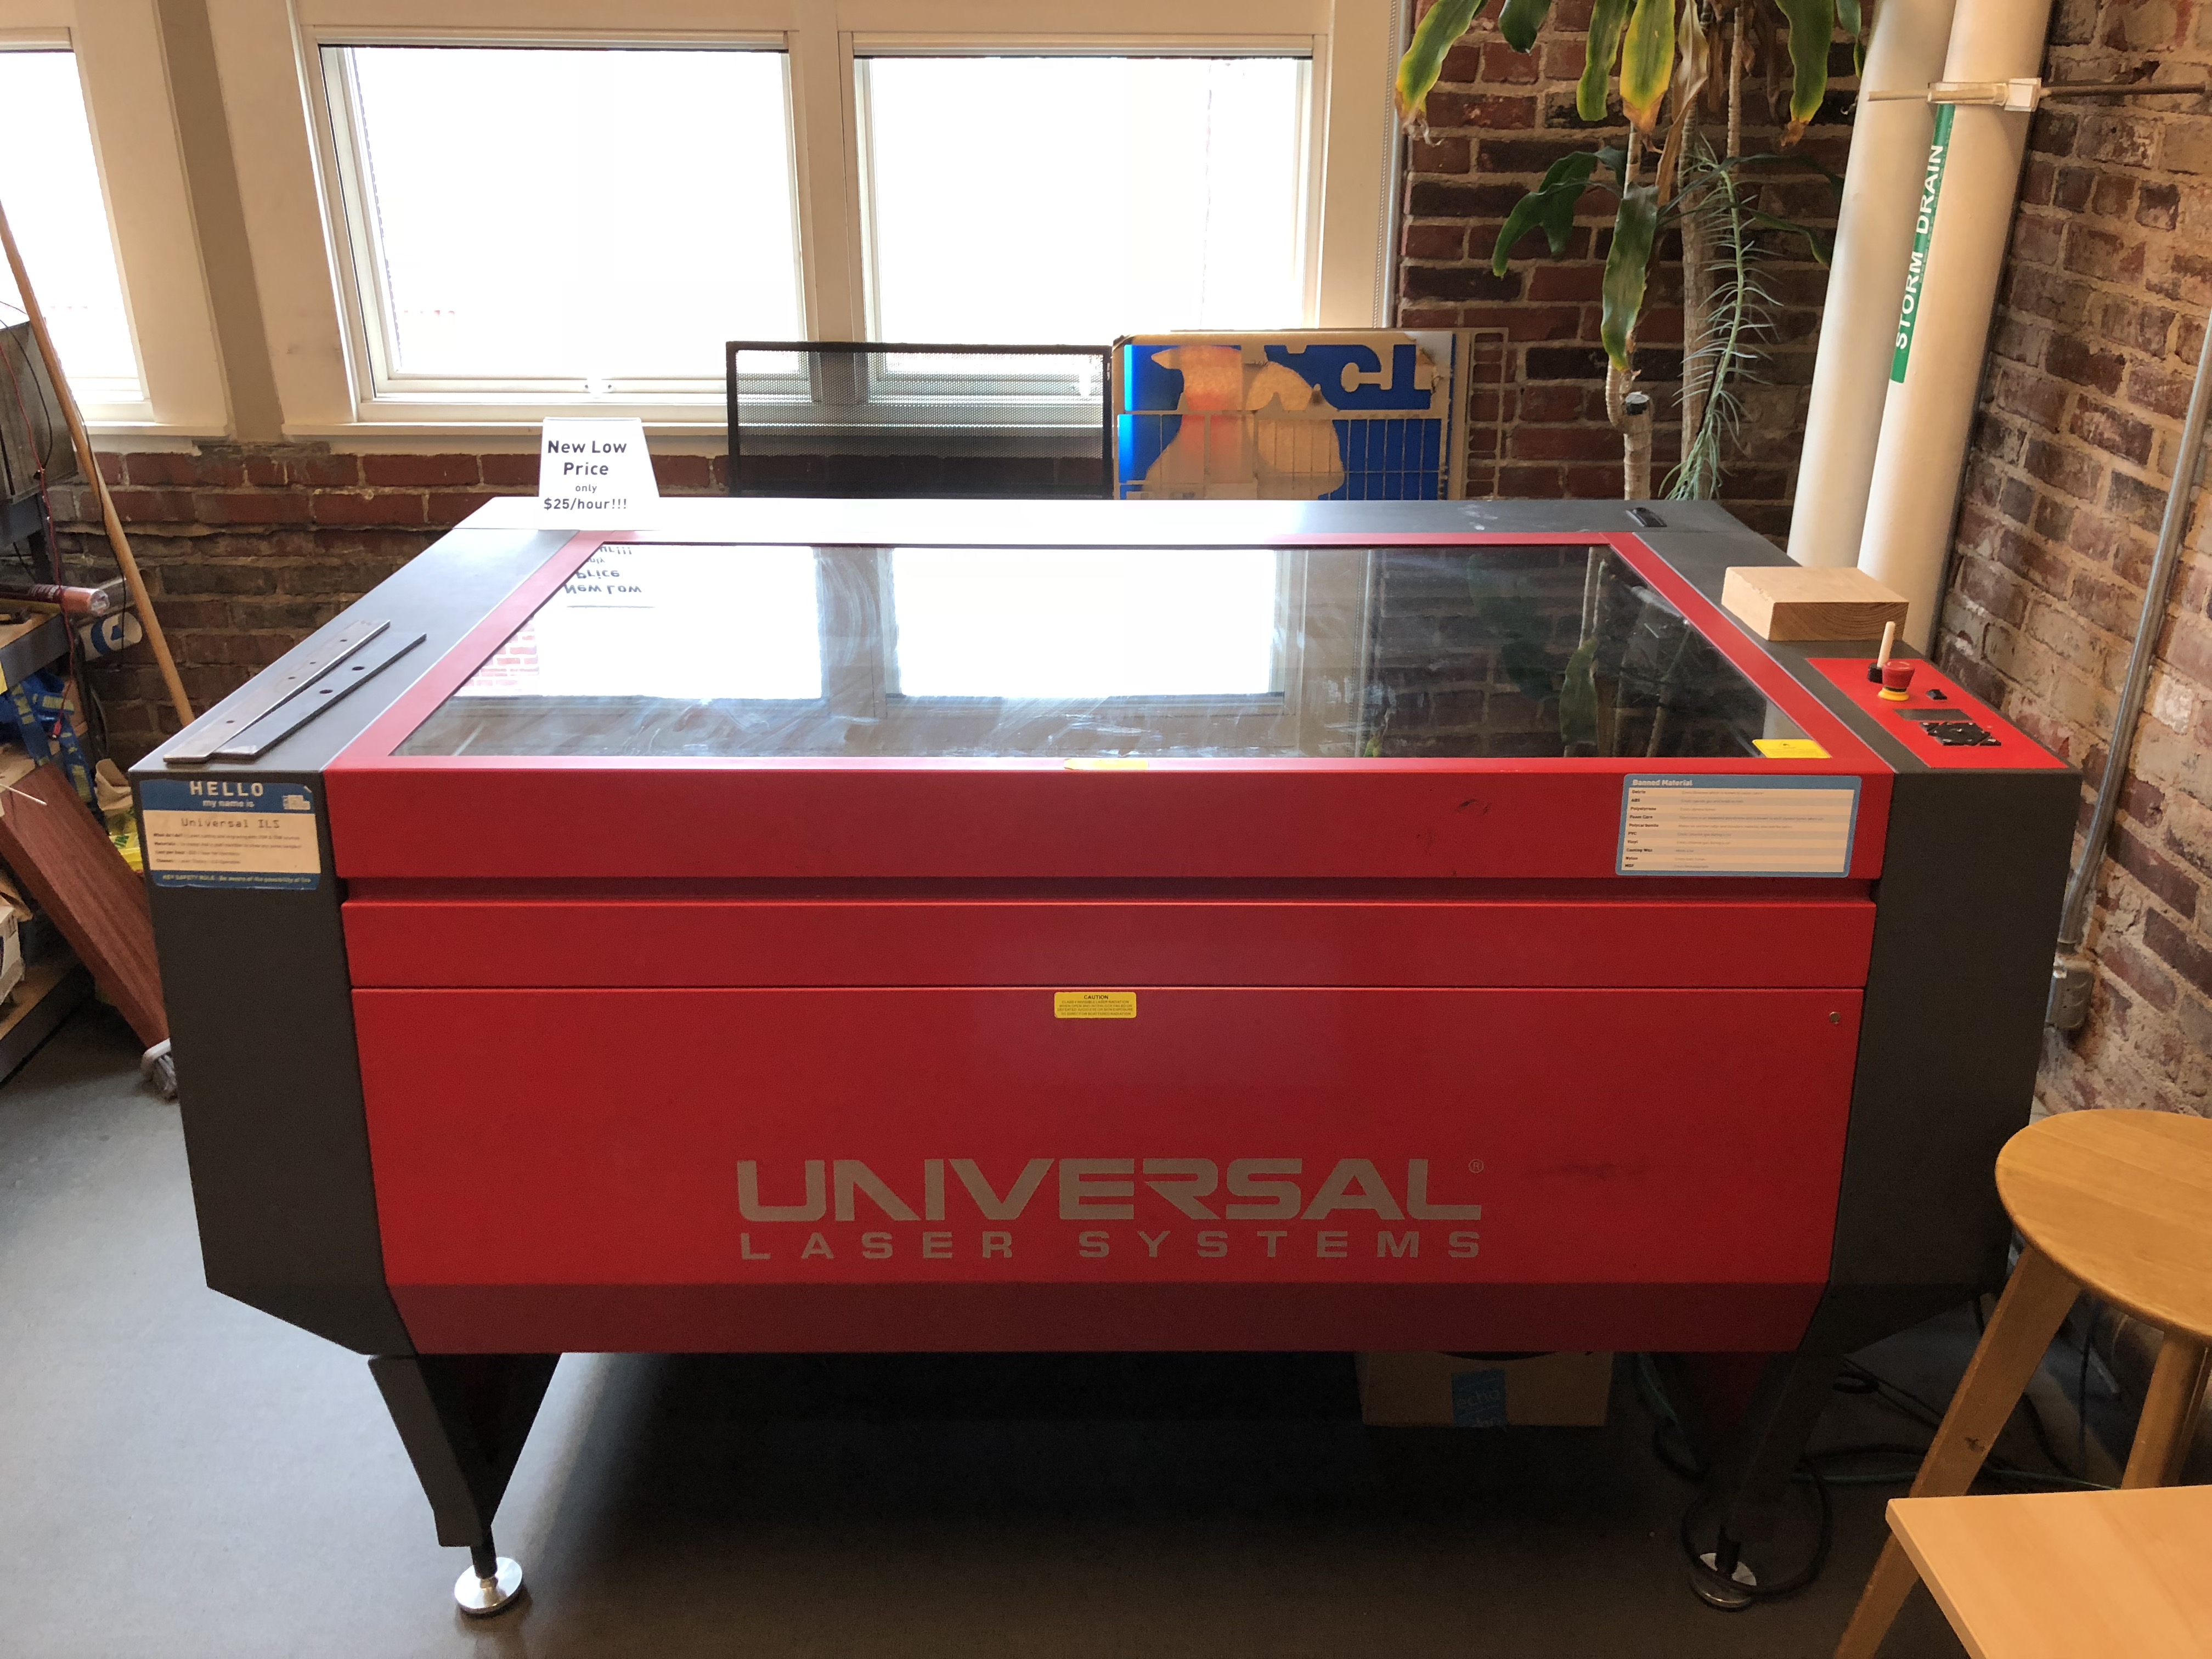
Laser table
This meant that I could cut the pattern out of some 3⁄8 scrap plywood and use that as a guide for a hand-router. Here’s the laser cutter at work:
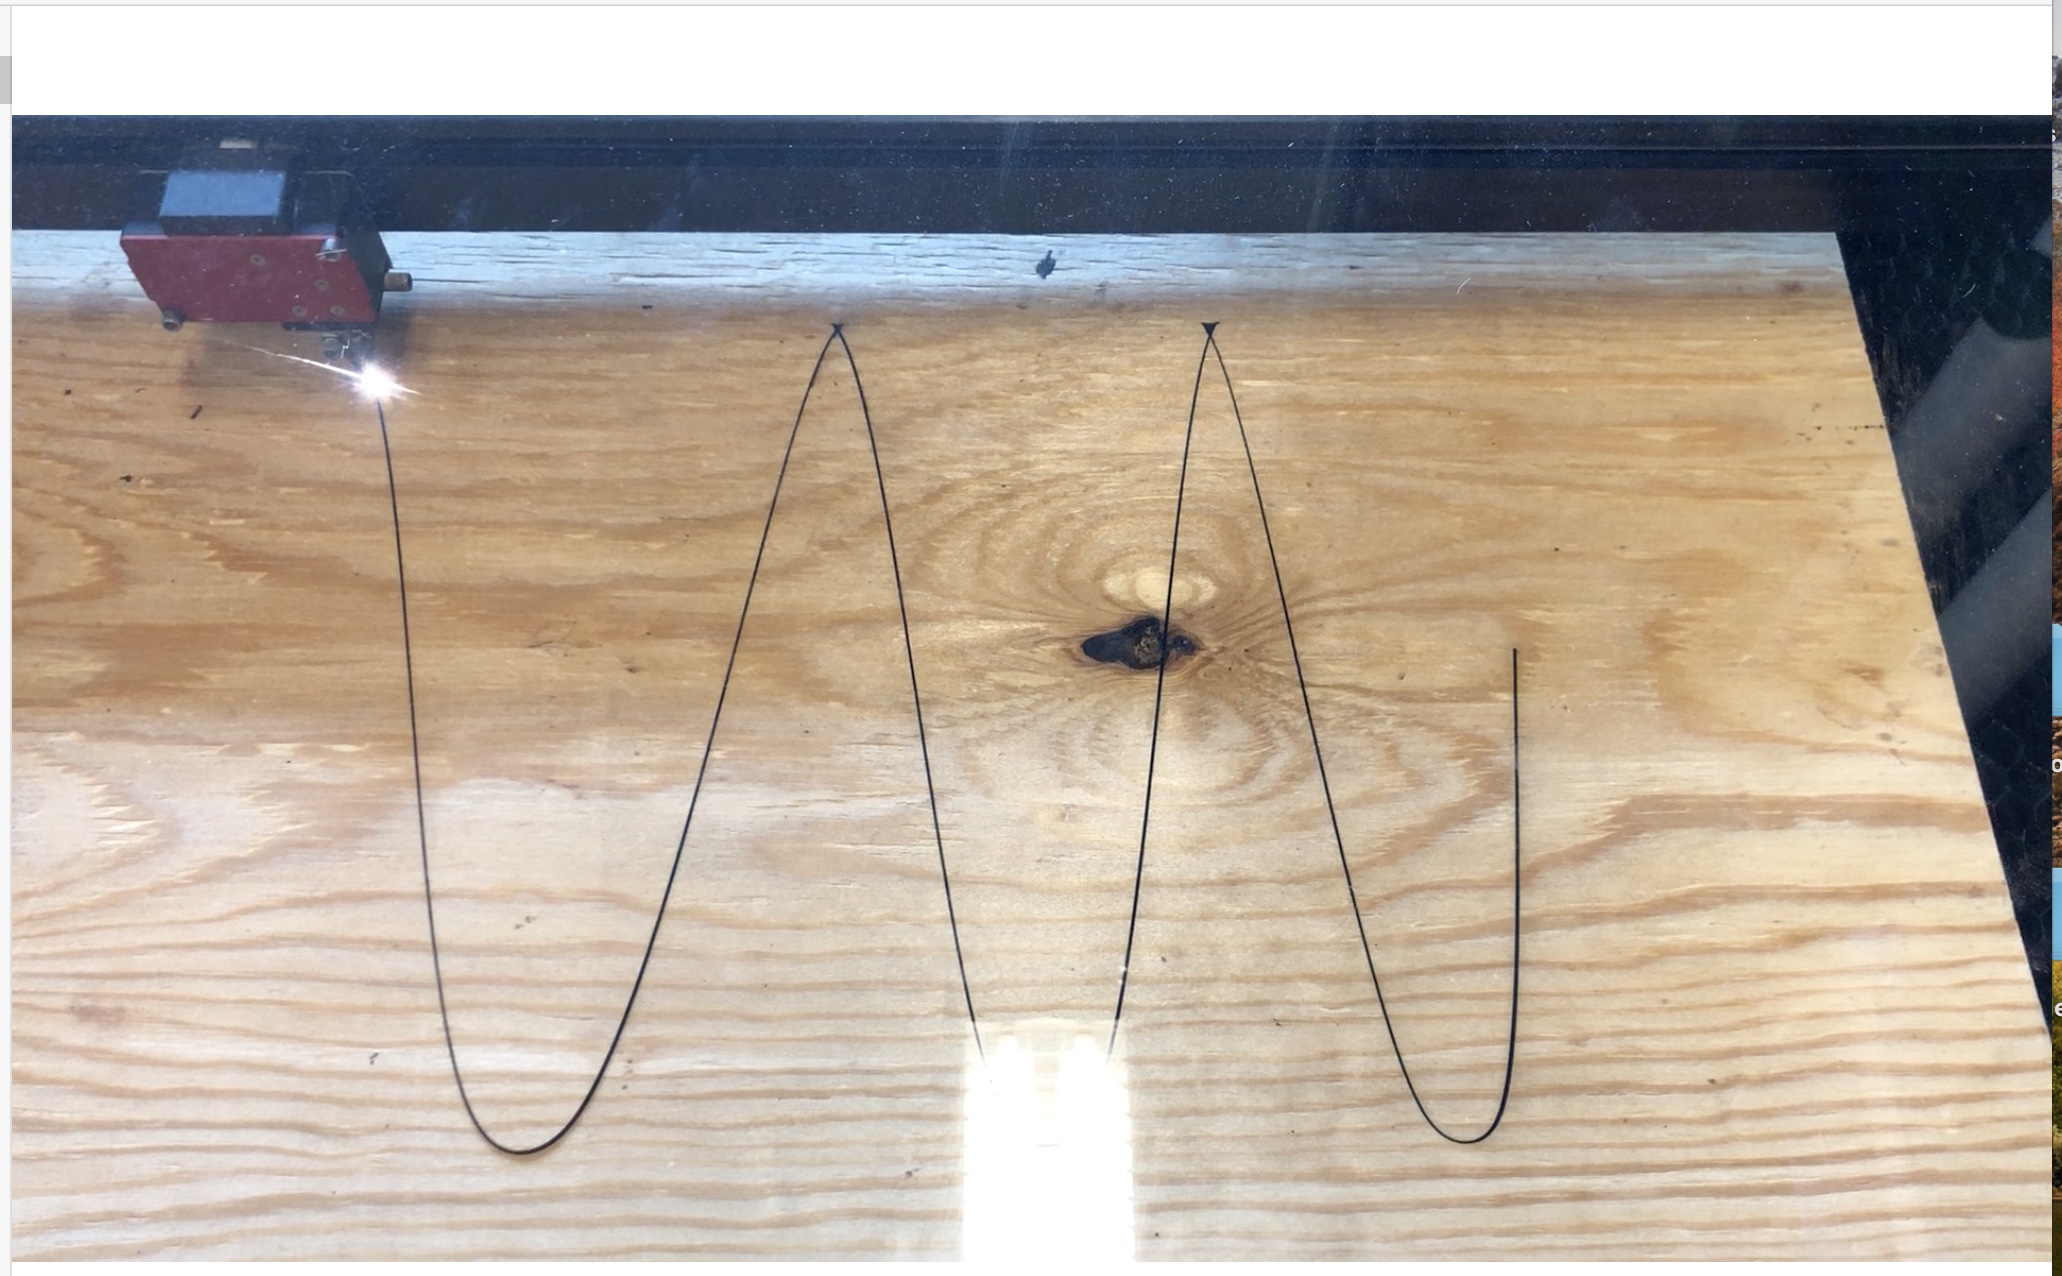
Laser
Here’s the plywood on top of the table. The pattern perfectly matched where I measured the imperfections to be:
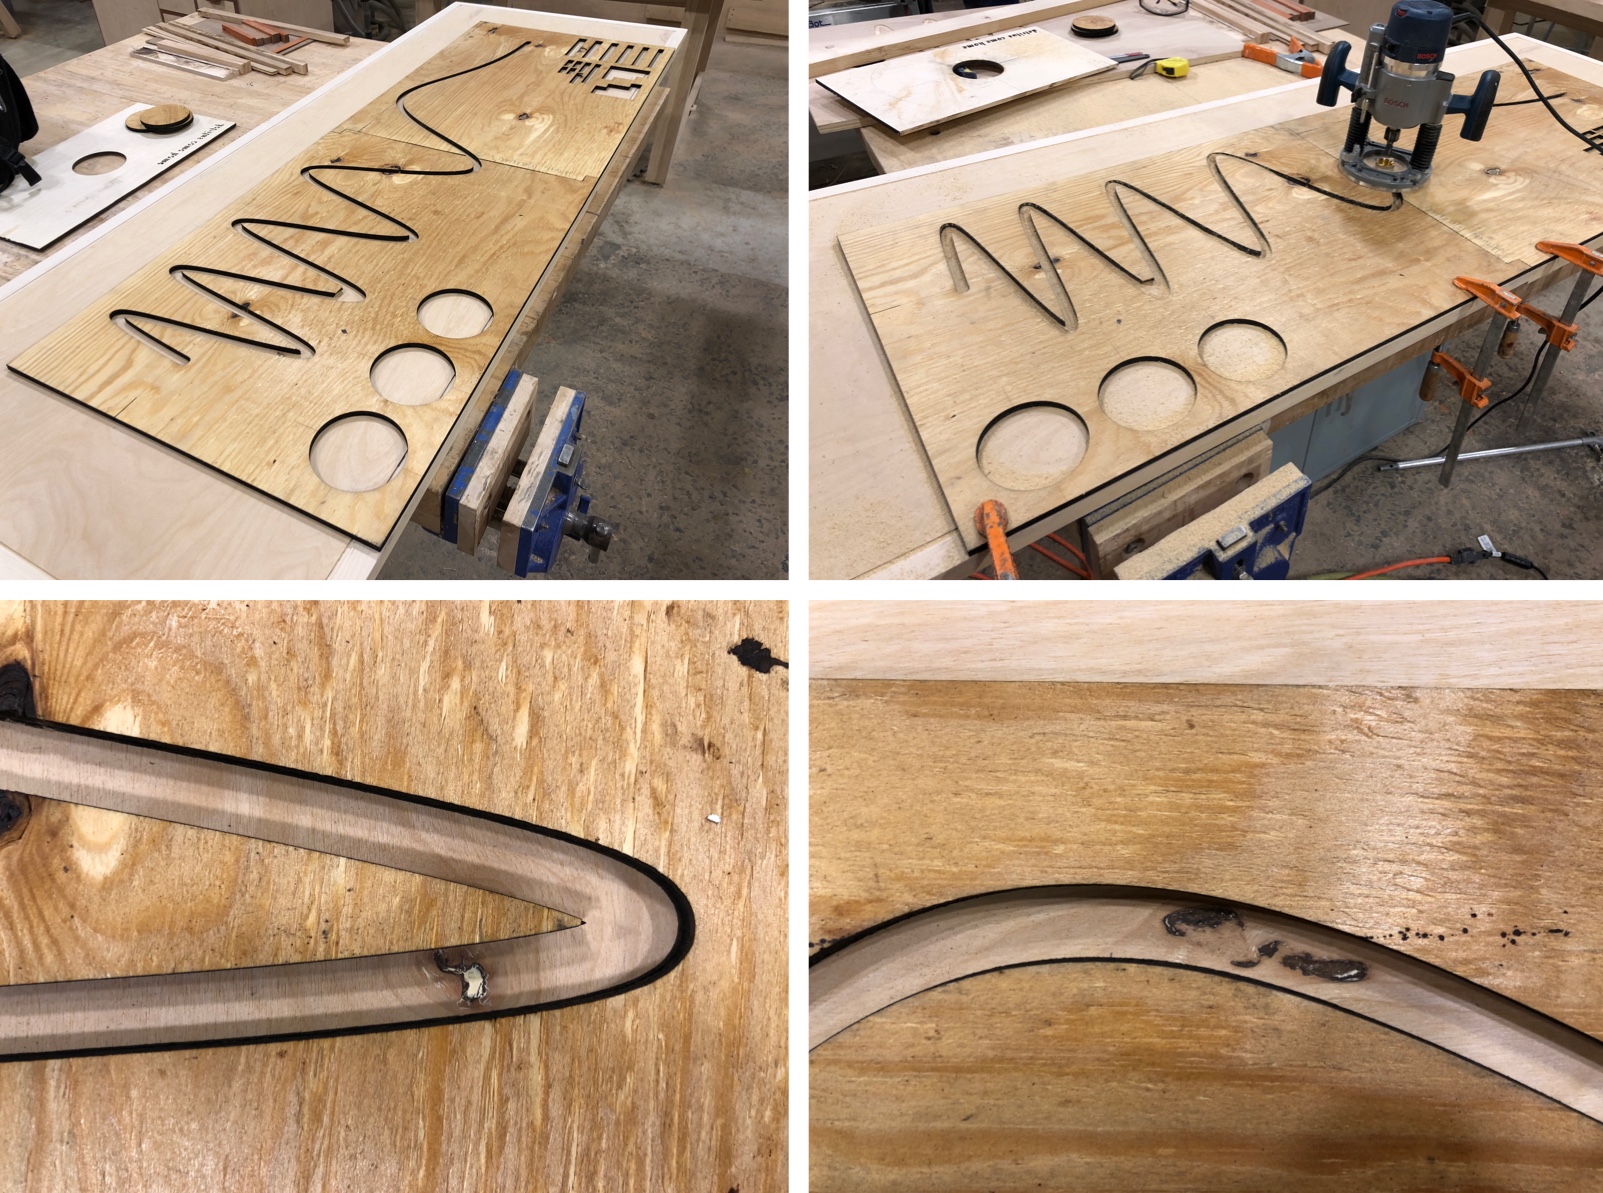
Routing progress
Here’s what it looks like after the routing:
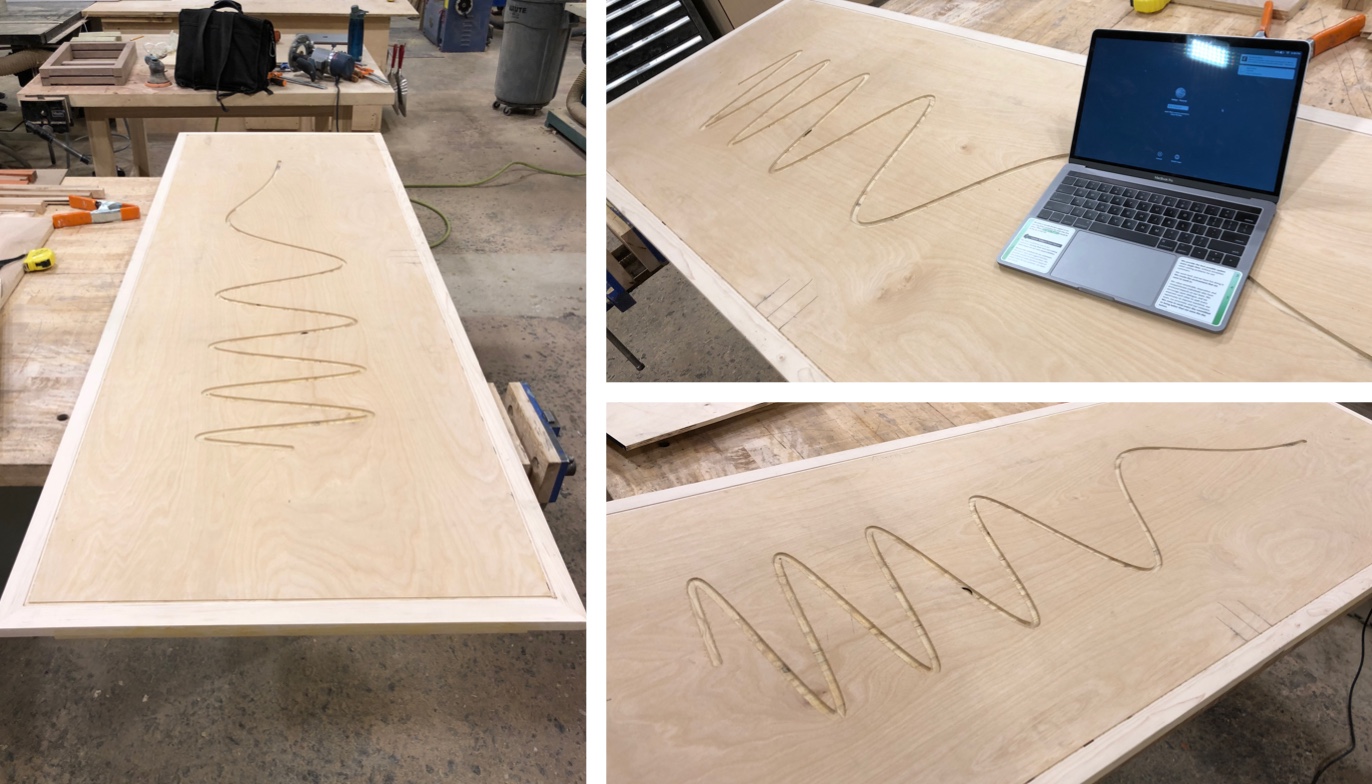
Finished routing
The planning for this took much, much longer than actually routing it out once I had the pattern all done. This is my first big woodworking project, and I’d been afraid to cut into the surface of it, but detailed planning paid off here.
The next step will be to fill the pattern with a resin and then seal it over. I had been thinking of using a bright red resin, but now I’m considering using something clear, as I like how it looks right now.