Customizing a Hugo theme with an animated P5.js background
April 9, 2018
p5.js processing.org hugo development
This post will outline how to install an animated, interactive background in an existing Hugo theme. An example of this can be seen on the home page for this blog:
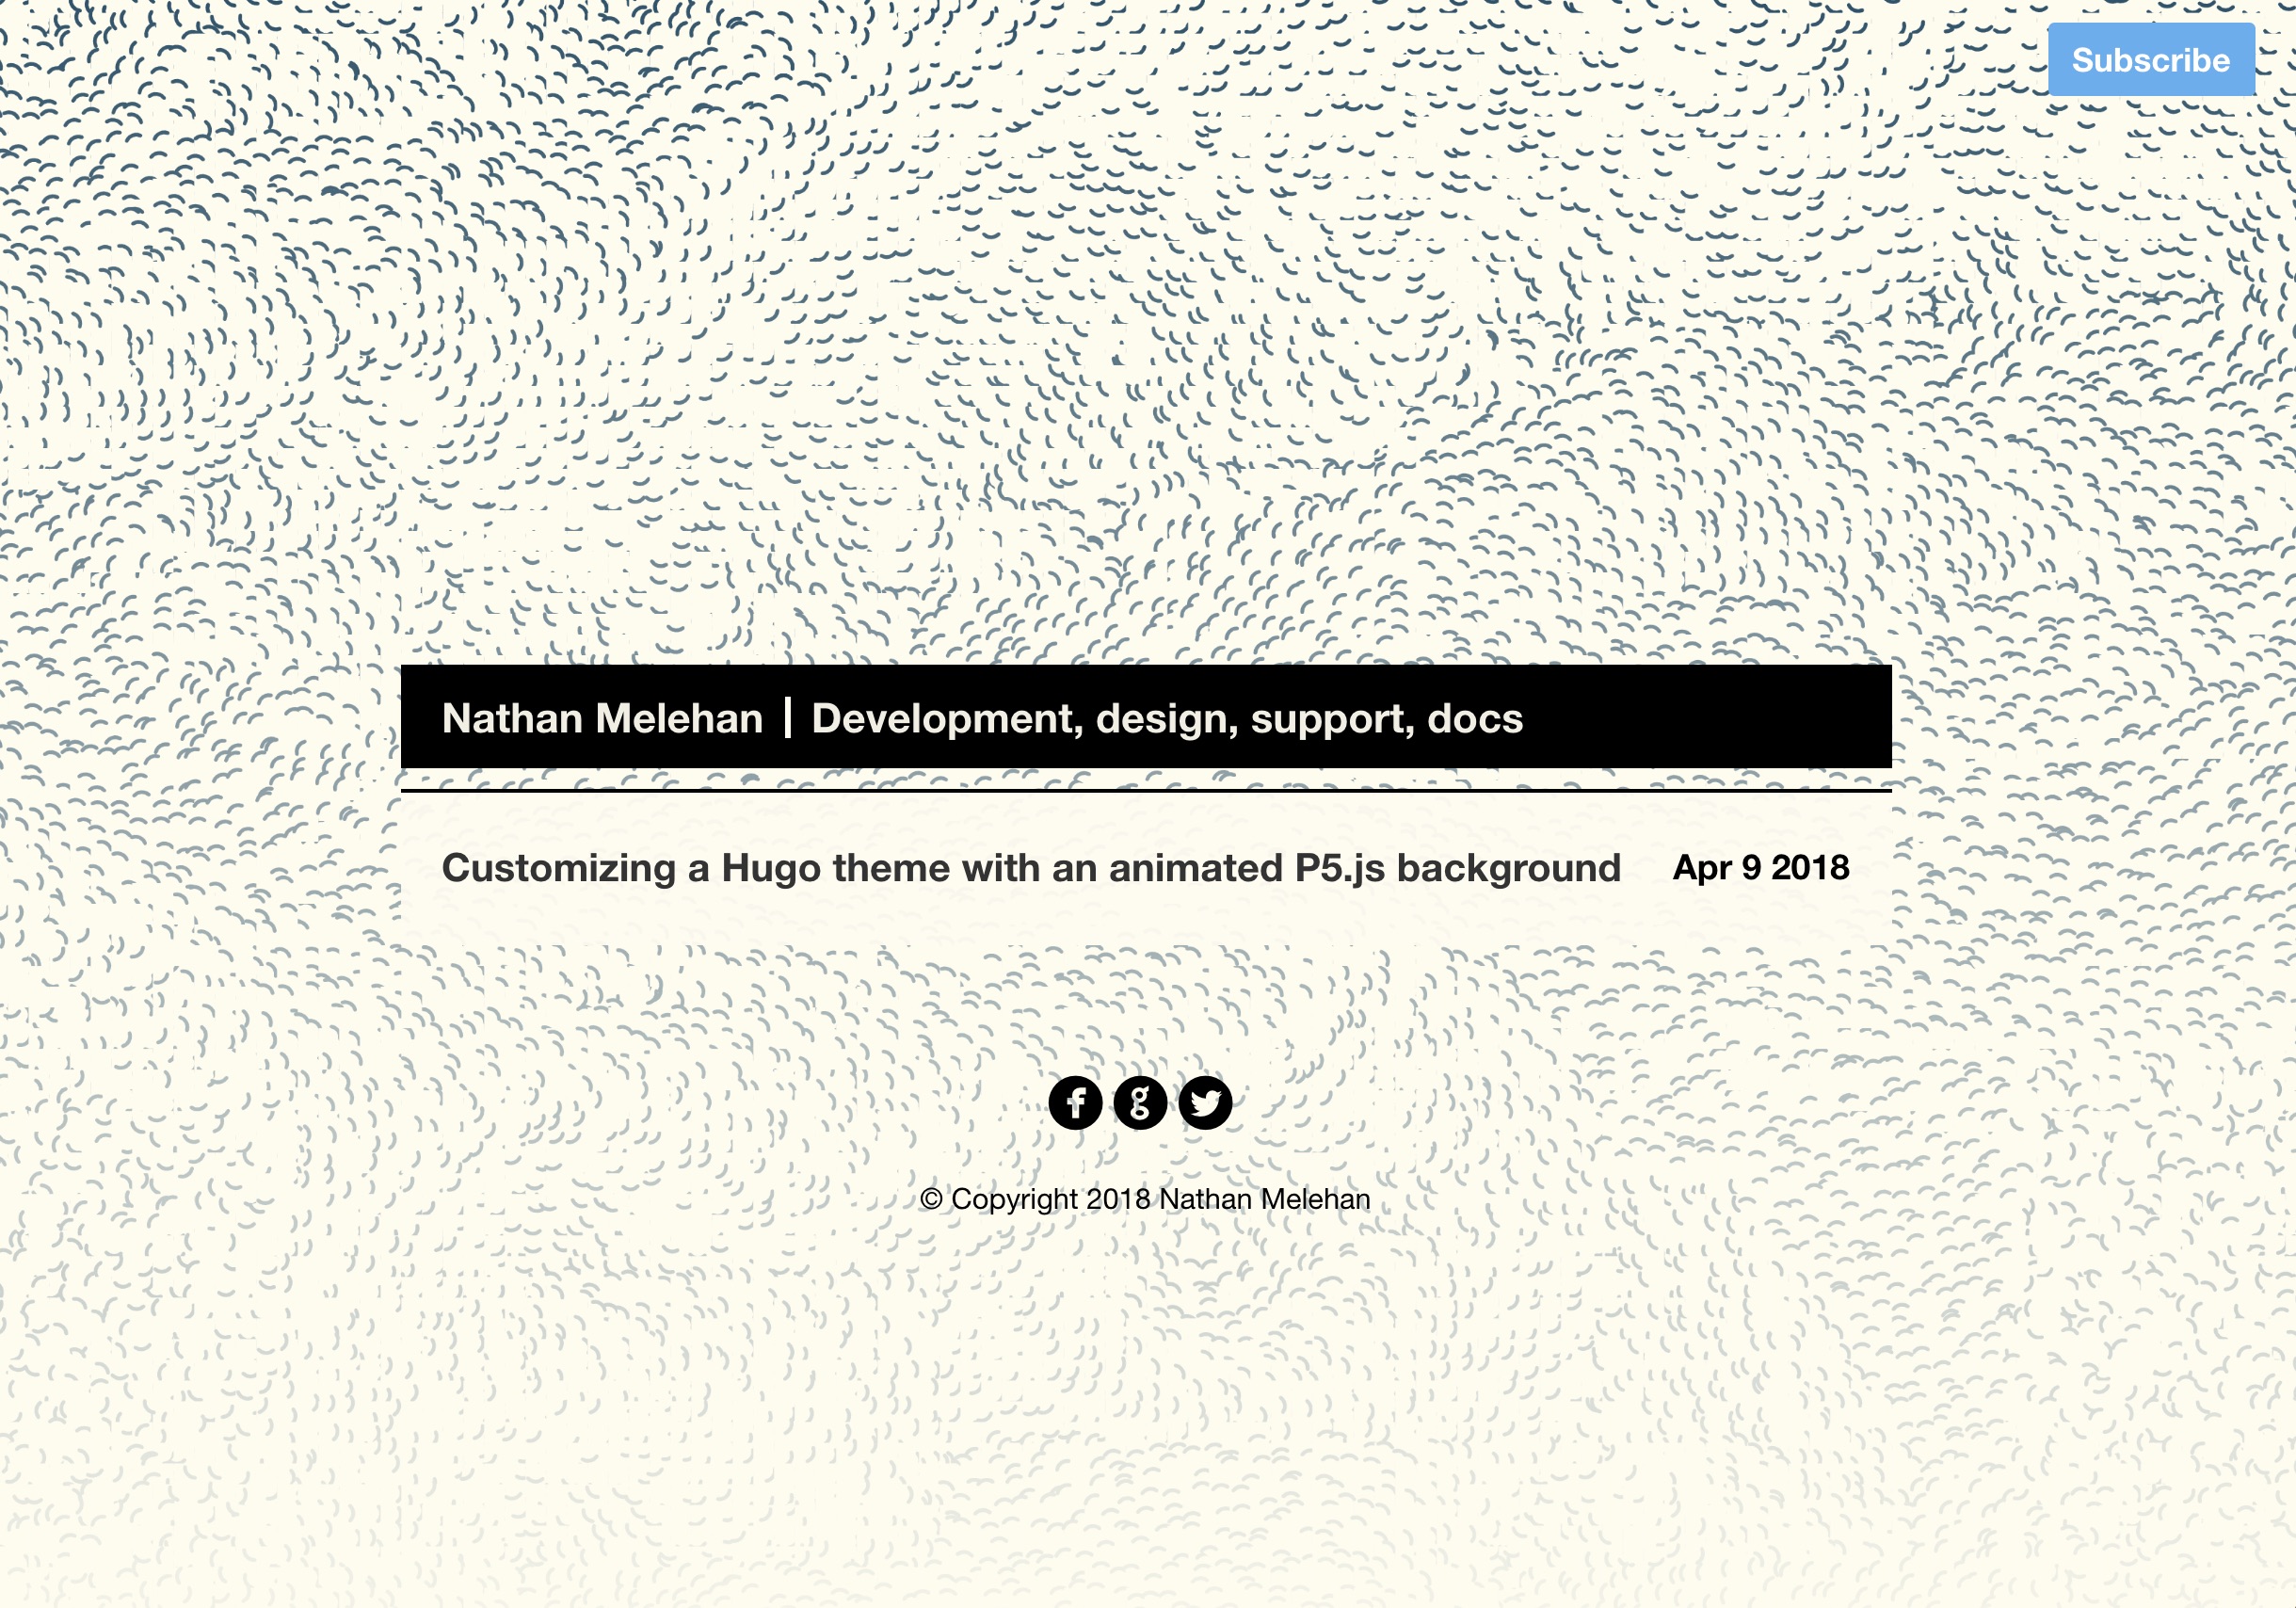
Example animation
Prerequisites
This guide will assume that Hugo has already been installed on your system: Install Hugo. This guide will begin with the creation of a new Hugo site on your system.
Before proceeding, I’ll define some relevant terms:
Hugo
Hugo is a static website generator: gohugo.io. Static website generators are useful tools for creating blogs, wikis, documentation libraries, and other websites that don’t require interactive backend services. A benefit of using a tool like Hugo is that you can serve the website you make from free hosting services, like GitHub Pages (which is where this blog currently lives).
Processing.org and p5.js
Processing.org (also simply called ‘Processsing’) is a language, IDE, and framework that helps people engage in ‘creative coding’: Processing.org. Processing is a simplified subset of Java, and it comes with a rich set of tools for making art. Processing can be used by artists to make visual artwork and animations; play music; and craft physical artwork installations. Projects in Processing are frequently called ‘sketches’.
p5.js is a port of Processing to Javascript: p5.js. This port is designed to help create shareable artwork in the web browser. p5.js sketches render their content to a canvas element in the browser’s DOM tree.
Installing the Hugo theme and exploring the templating system
For the first half of these instructions, we will focus on modifying Hugo. We will address making a p5.js sketch in the second half of the guide.
From your terminal, create a new Hugo site:
hugo new site mysite
cd mysite
We will install and modify the Cactus theme: Cactus. Run the following commands to install the theme. This will copy the theme’s files to your Hugo’s themes/ subfolder:
cd themes
git clone https://github.com/digitalcraftsman/hugo-cactus-theme.git
Copy the config.toml into the root of your hugo site:
cp themes/hugo-cactus-theme/exampleSite/config.toml .
Your config.toml may have a themesDir variable set with the value ../..
grep themesDir config.toml
themesDir = "../.."
If this is the case, edit this line so that it has this value instead:
themesDir = "themes/"
It is important to note that you should not directly edit the files in the theme directory to modify your site. Instead, Hugo’s convention is to copy the files you want to change into the root of your site directory. This is what the directory and file structure of the theme looks like:
themes/hugo-cactus-theme/
├── CHANGELOG.md
├── LICENSE.md
├── README.md
├── archetypes
├── exampleSite
├── images
├── layouts
├── static
└── theme.toml
We will be modifying some of the static assets and layouts of this theme. The root of your site already contains a layouts and static directory, so you do not need to make these.
We will next inspect how the Cactus theme has structured its layouts:
themes/hugo-cactus-theme/layouts
├── 404.html
├── _default
│   ├── baseof.html
│   ├── list.html
│   └── single.html
├── about
│   └── list.html
├── index.html
└── partials
    ├── footer.html
    ├── head.html
    ├── js.html
    ├── latest-posts.html
    ├── nav.html
    ├── pagination.html
    ├── post-list.html
    ├── profile.html
    ├── share.html
    └── social.html
- The
partialsdirectory contains HTML fragments which are included in the other layout templates. You can think of these as smaller building blocks that are joined together. - The ‘index.html’ layout contains the template for the index of your site.
- The
_defaultdirectory contains templates from which all other templates inherit.baseof.htmlis the base template that all other templates build upon.list.htmlis the base template for all pages that show lists of items. An example of this would be the page that lists posts according to a specific tag.single.htmlis the base template for all content pages. In other words, a blog post.
In order to set up our p5.js Javascript later, we will need to modify the partials/js.html file. Copy this file out of the themes directory and into your custom layouts:
# Run this from the site root
mkdir layouts/partials
cp themes/hugo-cactus-theme/layouts/partials/js.html ./layouts/partials/
This will be the current content of that file:
<script src="//ajax.googleapis.com/ajax/libs/jquery/2.1.1/jquery.min.js"></script>
<script src="{{ "js/main.js" | absURL }}"></script>
<script src="{{ "js/highlight.js" | absURL }}"></script>
<script>hljs.initHighlightingOnLoad();</script>

{{ range .Site.Params.customJS }}
<script src="{{ . | absURL }}"></script>
{{ end }}

{{ template "_internal/google_analytics.html" . }}
Add a simple mysketch.js file to your custom static directory:
# Run this from the site root
mkdir static/js
echo "console.log('Hello, world');" > static/js/mysketch.js
Open your custom layouts/partials/js.html and add this line to the end:
<script src="/js/mysketch.js" type="text/javascript"></script>
From your site root, launch the hugo server:
hugo server
The output from this should say that your server is now listening on a high-number port, like http://localhost:1313/. Visit that page in your browser and then open the developer tools. In the Javascript console, you should see the Hello, world message appear.
Creating a p5.js background sketch
At this point, we have modified our Hugo theme so that we can run our own Javascript, which means that we can start using p5.js. Download the p5.js complete library and then copy the p5.min.js and p5.dom.min.js files into your static/js folder: p5.js Download.
p5.min.js is the core library, and p5.dom.min.js is an addon library that allows you to manipulate the DOM tree of your page from p5.js. We will need this because we will need to add a CSS class to your sketch’s canvas.
Add those scripts directly above your mysketch.js in your layouts/partials/js.html:
<script src="/js/p5.min.js" type="text/javascript"></script>
<script src="/js/p5.dom.min.js" type="text/javascript"></script>
<script src="/js/mysketch.js" type="text/javascript"></script>
Before writing our custom Javascript, we need to add a CSS class to our stylesheet. This class will be used to position the canvas behind the other elements on your page.
Your Hugo server is probably still running in your terminal window, and it is reloading whenever we make a change. You should leave it running and create a new terminal window. From the site root, copy the theme’s style.css into your static directory:
mkdir static/css
cp themes/hugo-cactus-theme/static/css/style.css static/css
Edit your new static/css/style.css file and add this section to the bottom:
canvas.backgroundsketch {
	position: absolute;
	top: 0;
	left: 0;
	margin: 0;
	padding: 0;
	width: 100%;
	height: 100%;
	overflow: hidden;

	z-index: -1;
}
We are now ready to start coding your p5.js sketch. Open your mysketch.js file, remove the console logging command we entered earlier, and add this code:
function setup() {
    var myCanvas = createCanvas(windowWidth, windowHeight);
    myCanvas.class('backgroundsketch');
}

function draw() {
  	ellipse(50, 50, 80, 80);
}
This will create a canvas the size of your window and then draw a circle in the top right corner.
Add this function to your mysketch.js file:
function mouseMoved() {
	ellipse(mouseX, mouseY, 80, 80);
}
This will make your circles leave a trail behind your mouse:
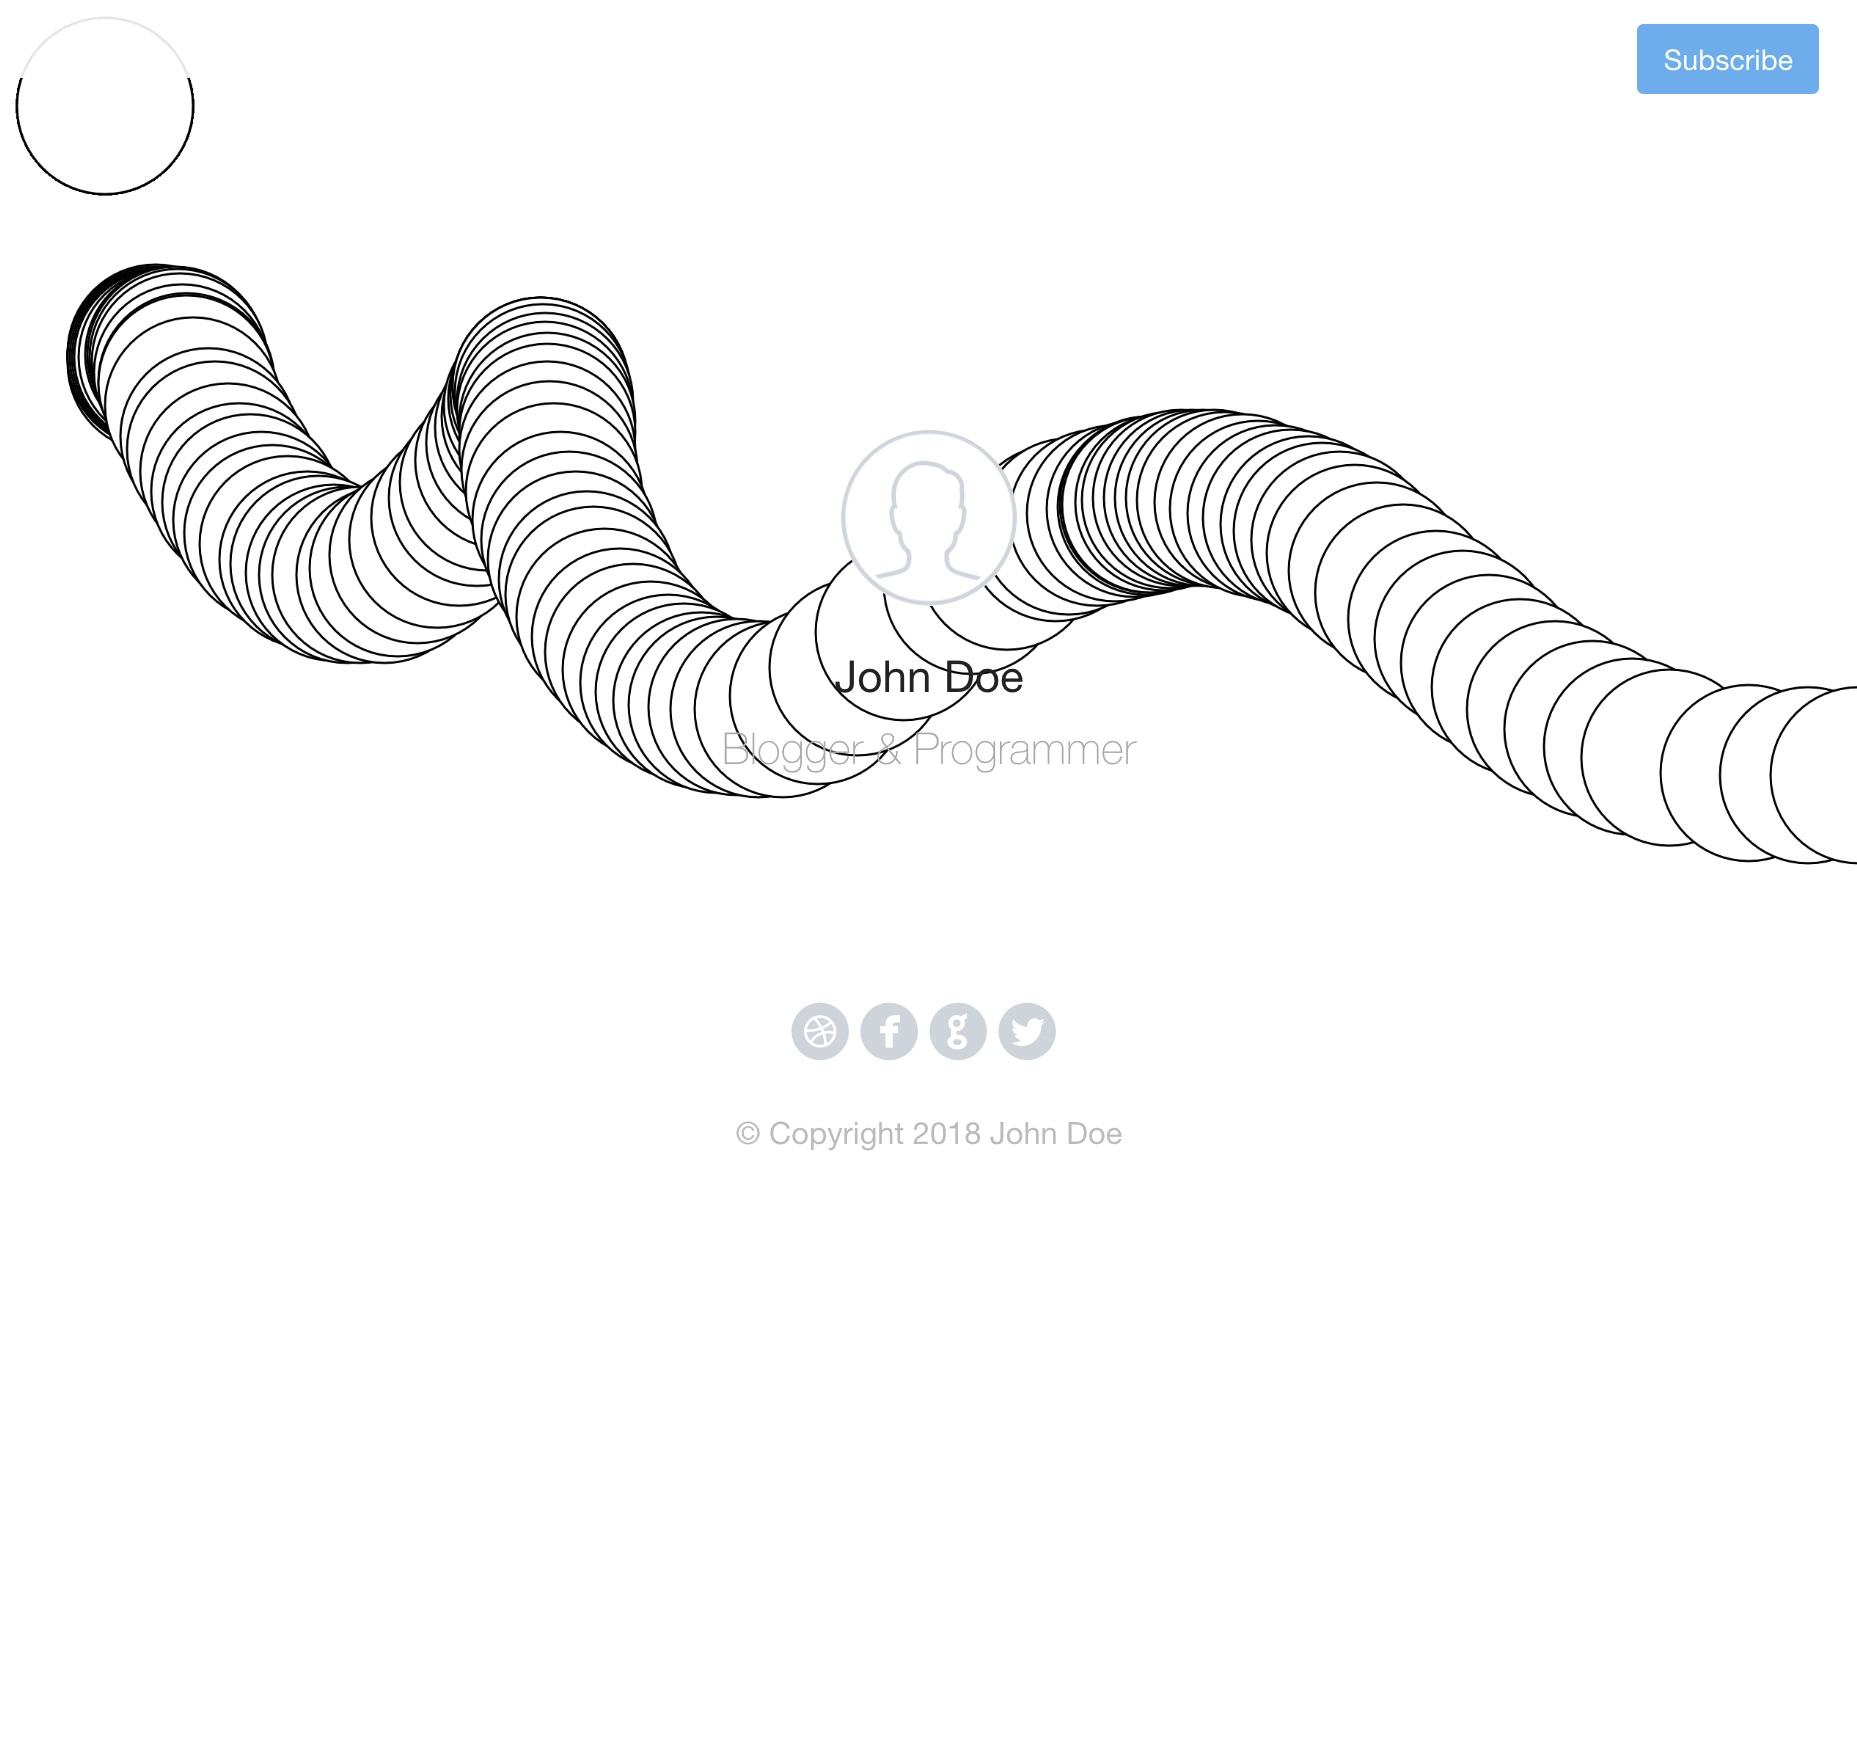
Mouse trails
Next steps
- The p5.js website offers a variety of different tutorials: Learn p5.js
- You can also read more about Hugo’s templating system and other features: Hugo Documentation. For example, if you only want to show the background sketch on your cover page, then you could customize the other layout templates from the theme.